Unit Joystick
SKU:U024
Description
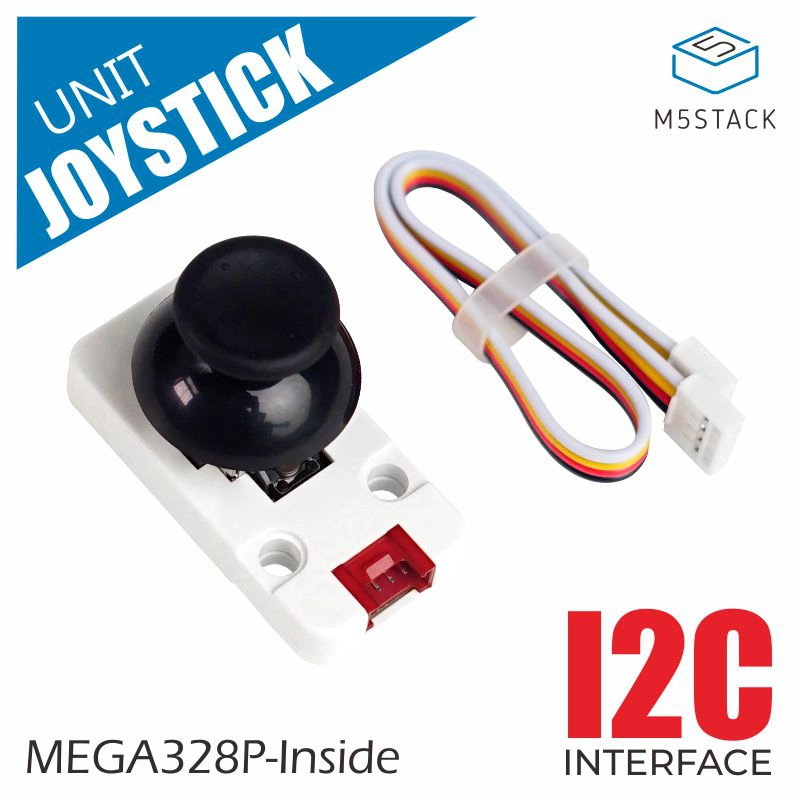
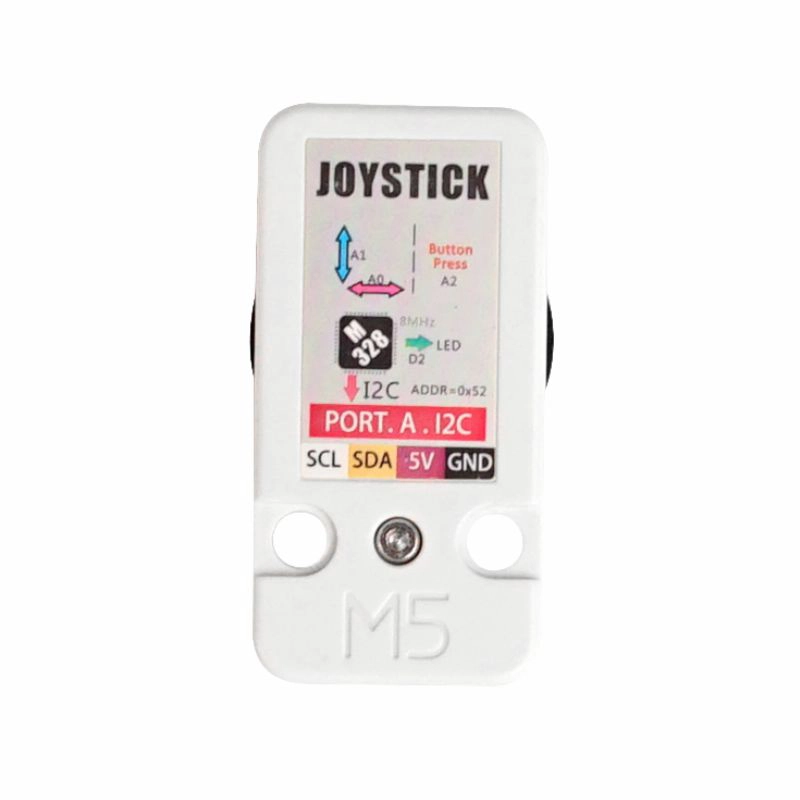
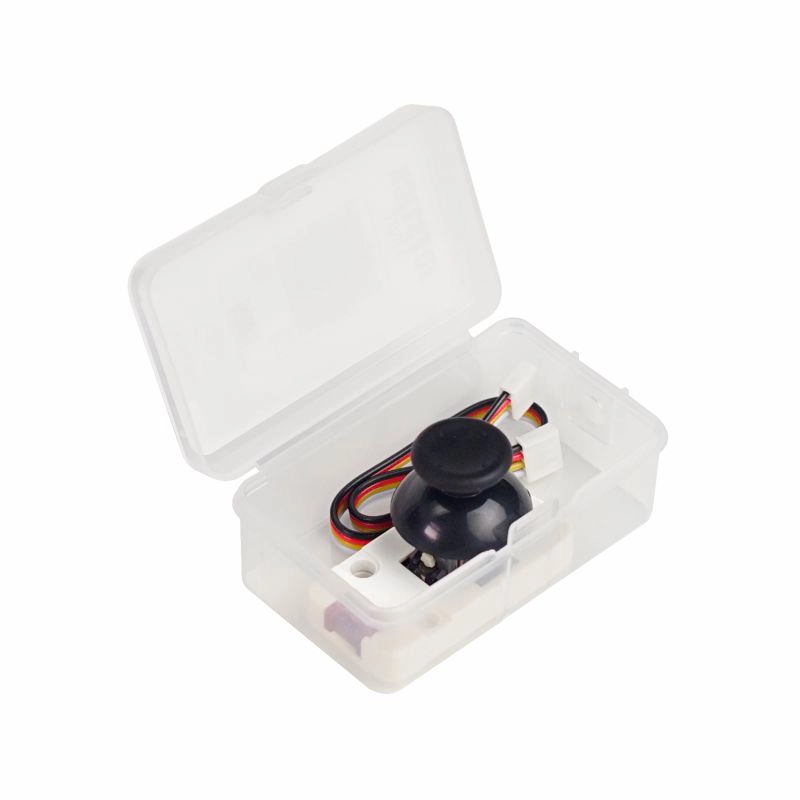
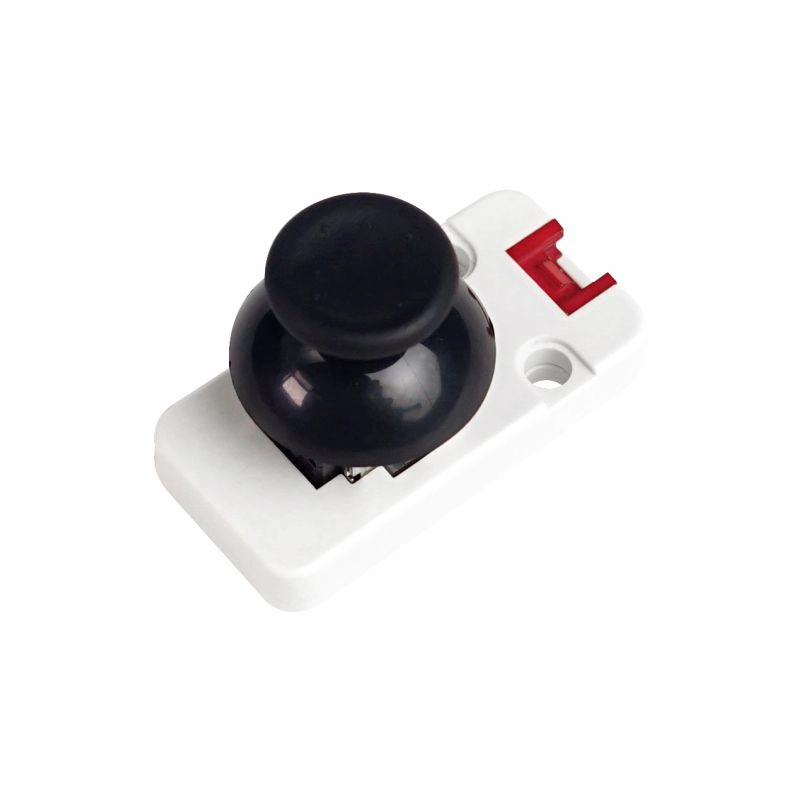
Joystick is a joystick control input unit, adopts I2C communication interface, supports three-axis control signal input (X/Y-axis offset analog input, Z-axis key digital input). Suitable for application scenarios such as games/robot control.
Product Features
- Three-axis input:
- X/Y axis offset analog input
- Z-axis key digital input
- 2x LEGO compatible holes
- Development platform: Arduino, UIFlow(Blockly, Python)
Include
- 1x Joystick Unit
- 1x HY2.0-4P cable
Applications
- Game Controller
- Robot remote control
Specification
| Specifications | Parameters |
|---|---|
| Communication protocol | I2C: 0x52 |
| X, Y axis offset output value | 0-255 |
| Z axis button output value | 0/1 |
| Net weight | 11g |
| Gross weight | 27g |
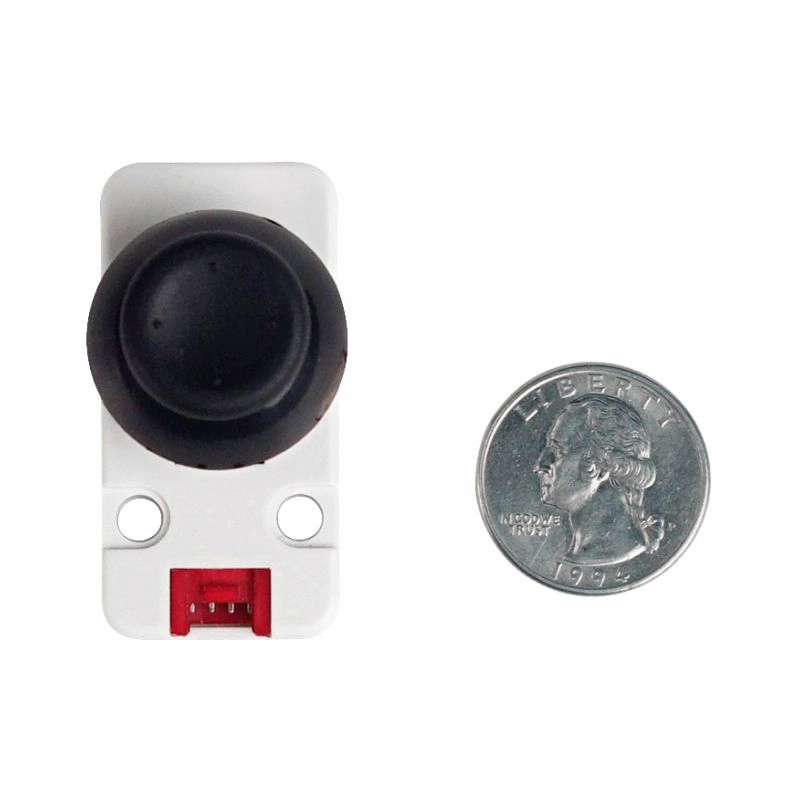
| Product size | 48 * 24 * 32mm |
| Packing size | 75 * 45 * 30mm |
EasyLoader
EasyLoader is a simple and fast program burner, which has a built-in product-related case program, which can be burned to the main control through simple steps to perform a series of functional verification.
Case description:
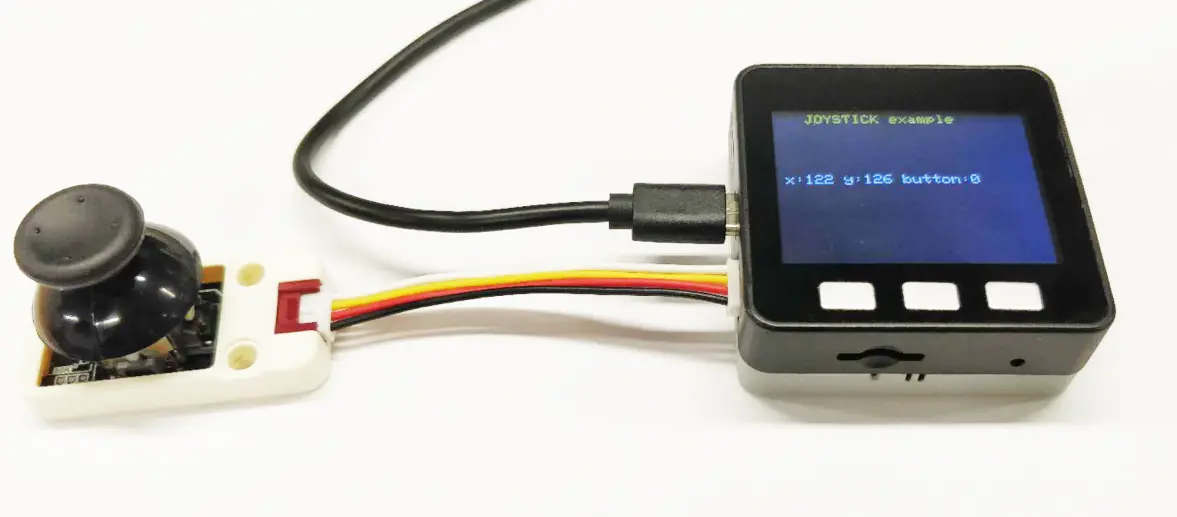
Display joystick XY data and button status.
Display joystick XY data and button status.
Download Windows Version Easyloader Download MacOS Version Easyloader
PinMap
- JOYSTICK
| M5CORE - PORT A | G21 | G22 | 5V | GND |
|---|---|---|---|---|
| JOYSTICK | SDA | SCL | VCC | GND |
Protocol
- Protocol type I2C
- I2C Address: 0x52
JOYSTICK REG 0x52
| REG | len | description | return values |
|---|---|---|---|
| 0x52 | 3 | Read joystick status | [0] X VALUE [1] Y VALUE [2] BTN STATUS |
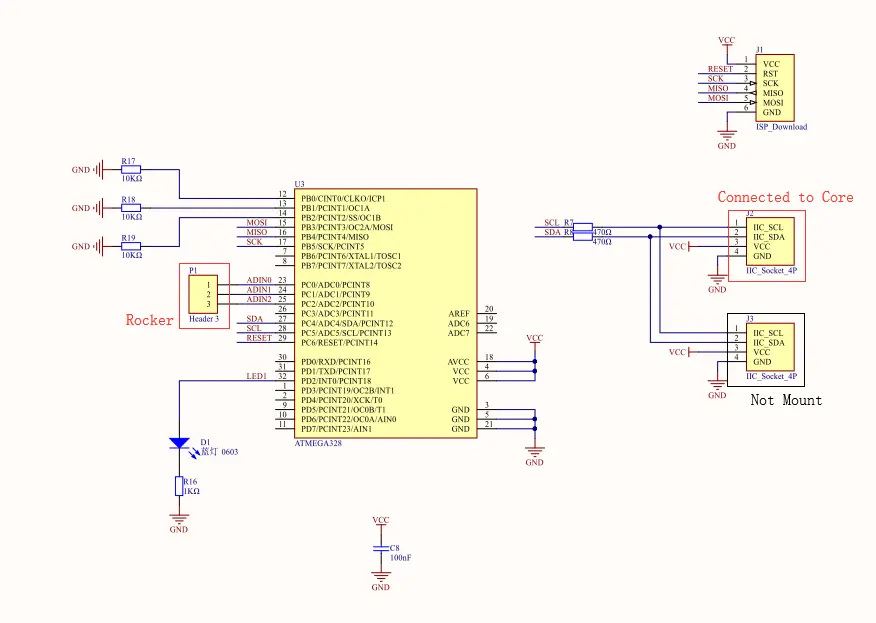
Schematic
Example
Arduino
#include <M5Stack.h>

#define JOY_ADDR 0x52 //define Joystick I2C address

void setup() {
  M5.begin();
  M5.Power.begin();
  M5.Lcd.setCursor(70, 0, 4);
  M5.Lcd.println(("Joystick Test"));
  dacWrite(25, 0);  //disable the speak noise.
  Wire.begin(21, 22, 400000);
}

char data[100];
void loop() {
  static uint8_t x_data,y_data,button_data;
  Wire.requestFrom(JOY_ADDR, 3);  //Request 3 bytes from the slave device.
  if (Wire.available()) { //If data is received.
    x_data = Wire.read();
    y_data = Wire.read();
    button_data = Wire.read();
    sprintf(data, "x:%d y:%d button:%d\n", x_data, y_data, button_data);
    Serial.print(data);

    M5.Lcd.setCursor(100, 50, 4);
    M5.Lcd.printf("X:%d      ",x_data);
    M5.Lcd.setCursor(100, 80, 4);
    M5.Lcd.printf("Y:%d      ",y_data);
    M5.Lcd.setCursor(100, 110, 4);
    M5.Lcd.printf("B:%d      ",button_data);
  }
  delay(200);
}
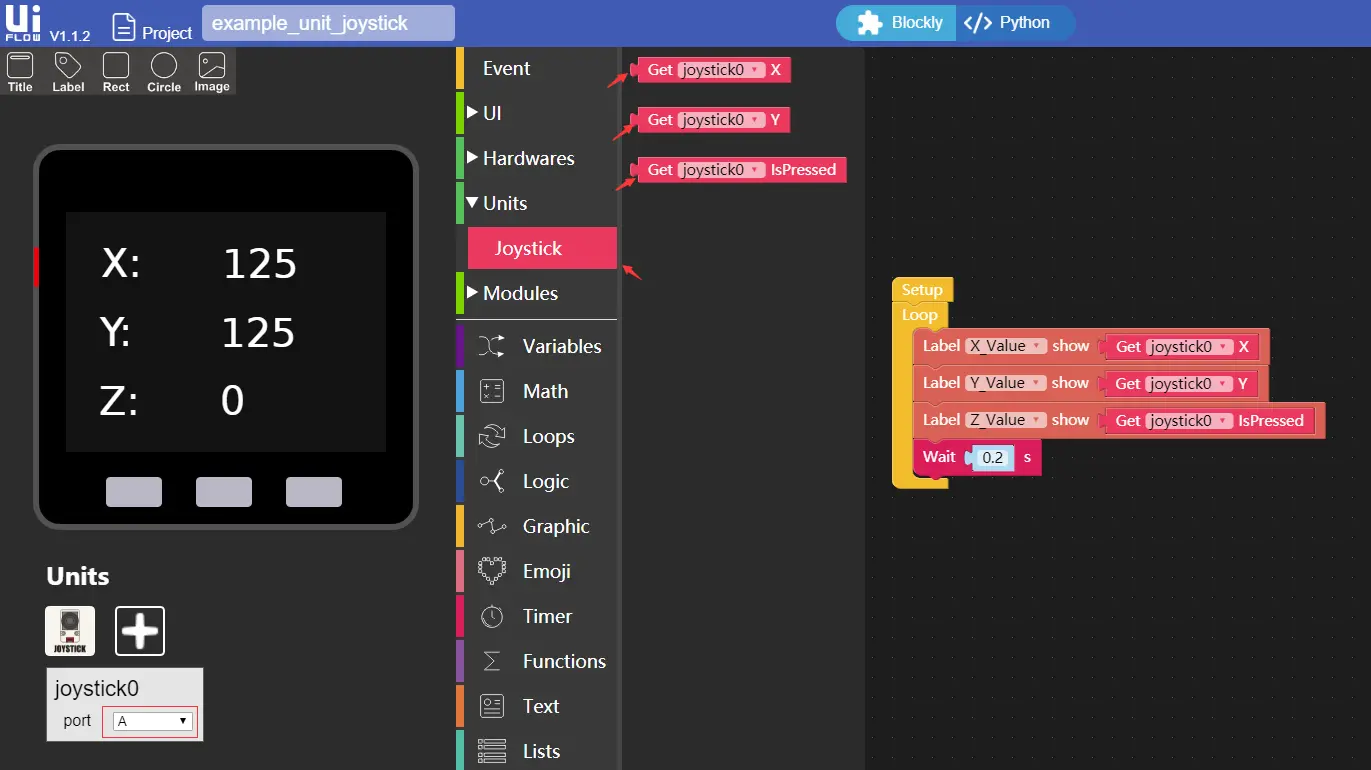
UIFlow
How to use Unit joystick and related API instructions in the UIFlow1.0
Usage
